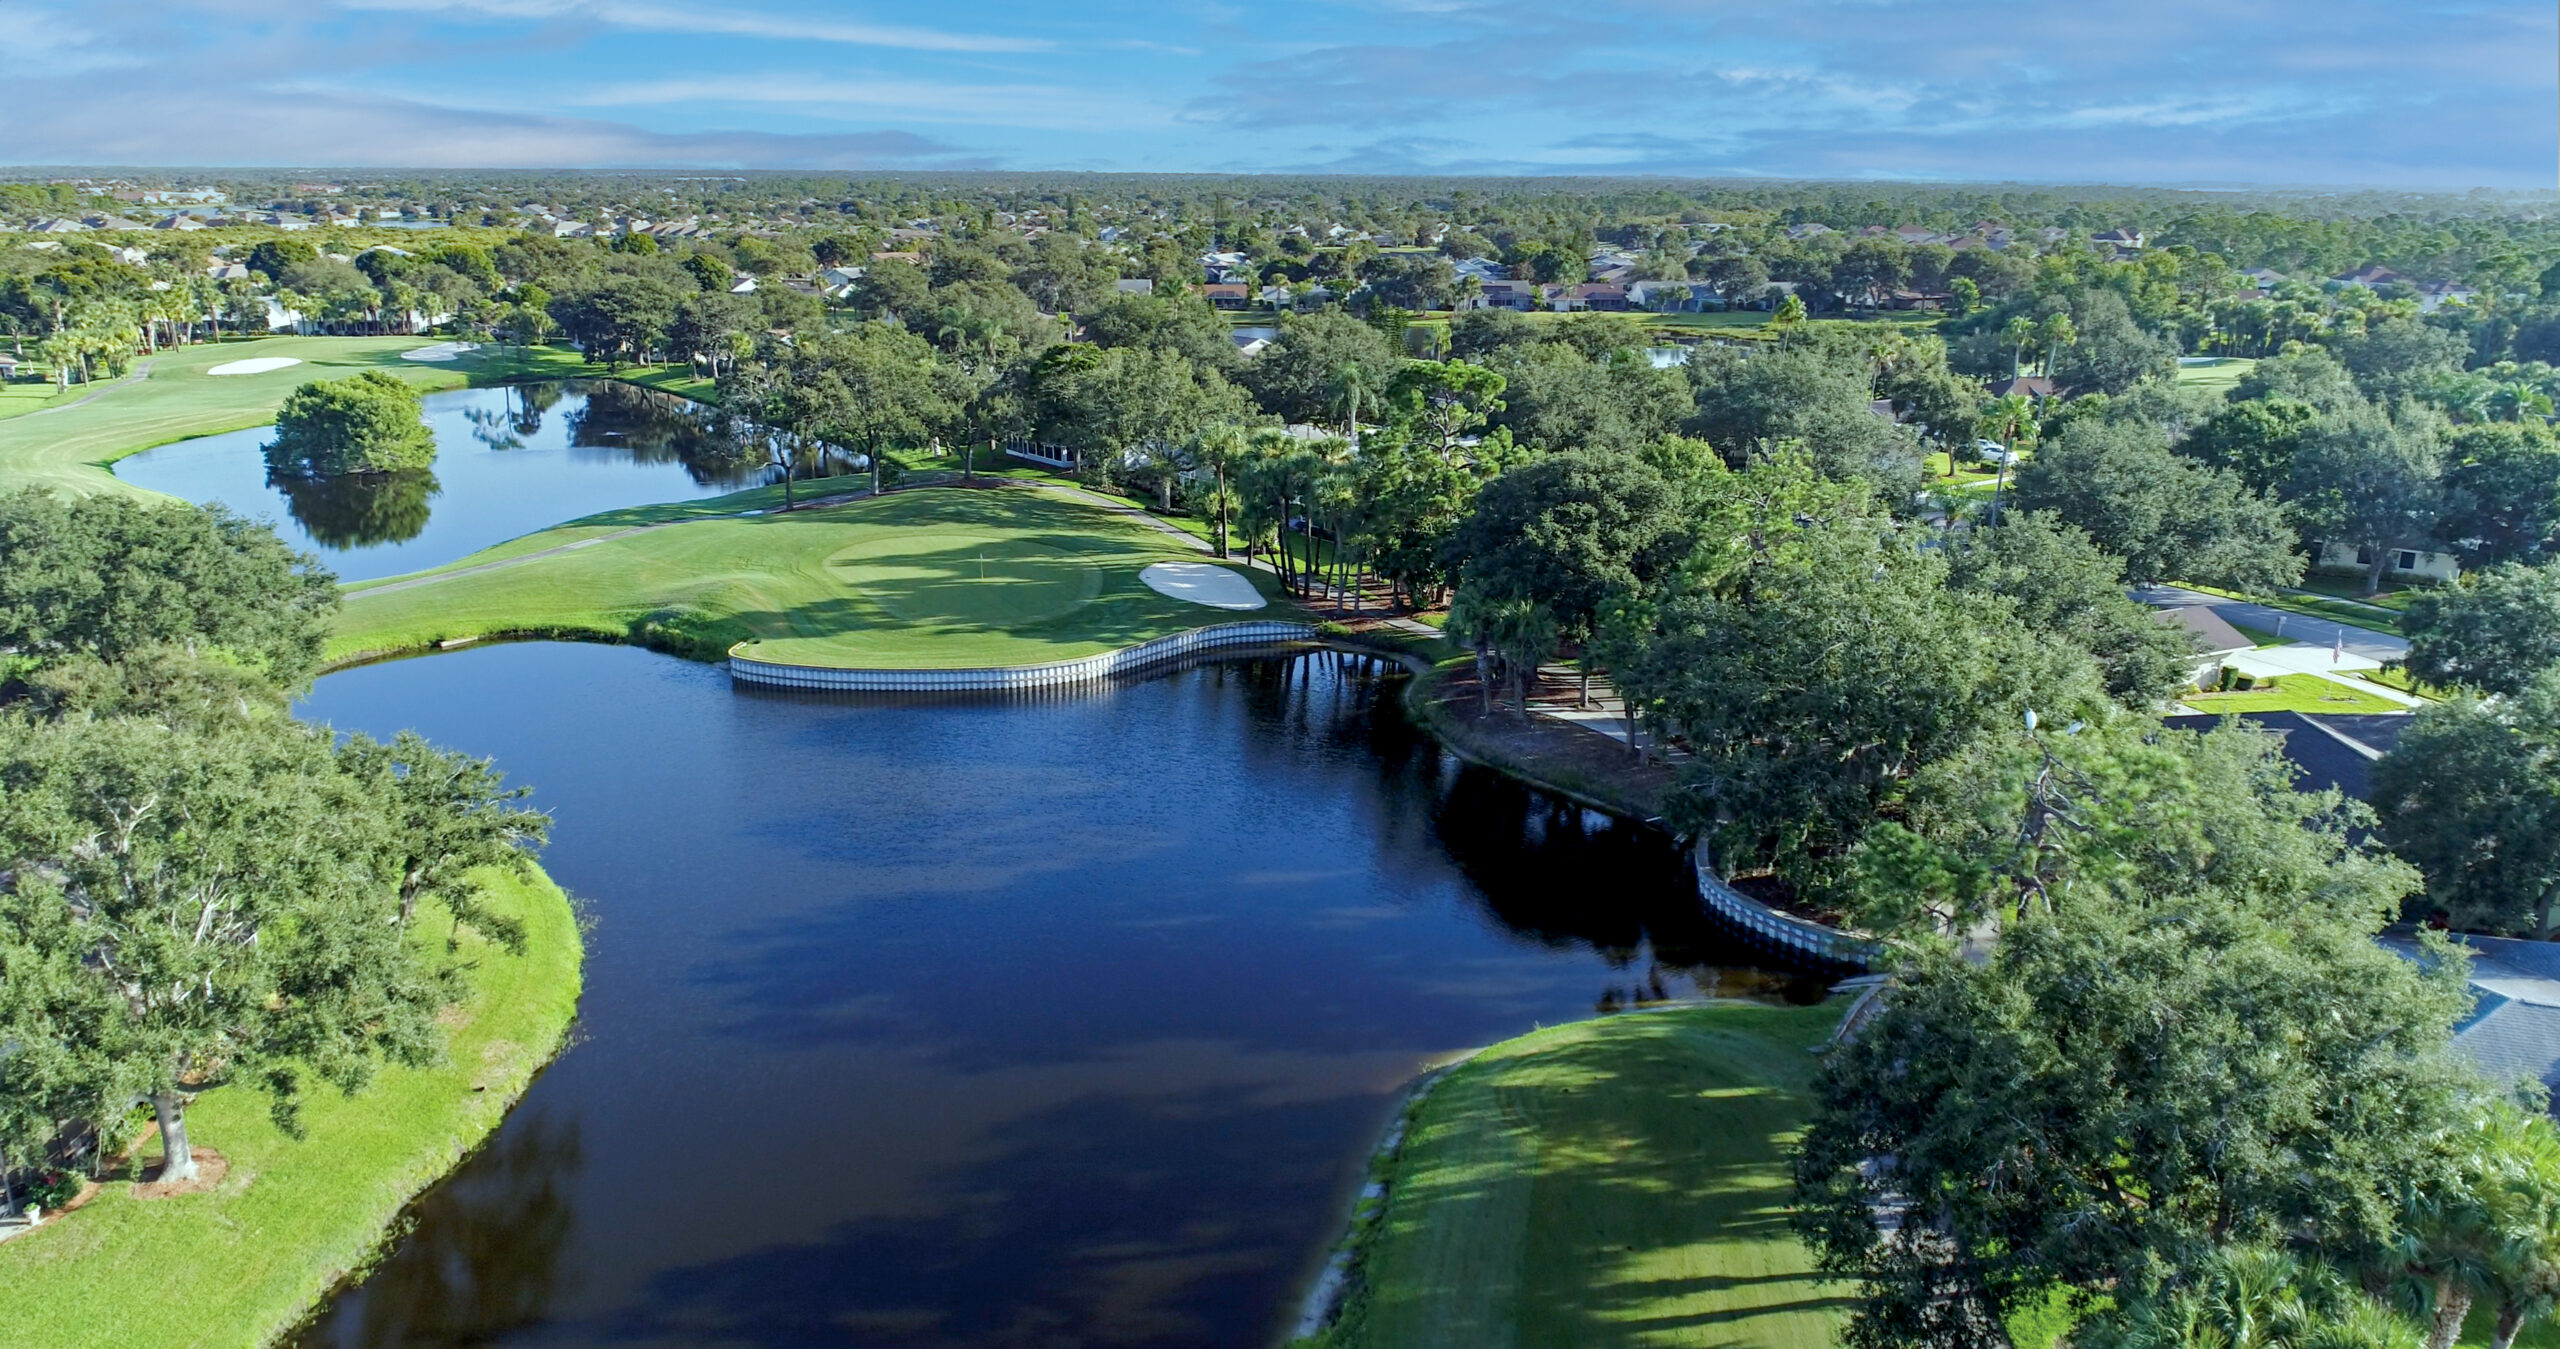
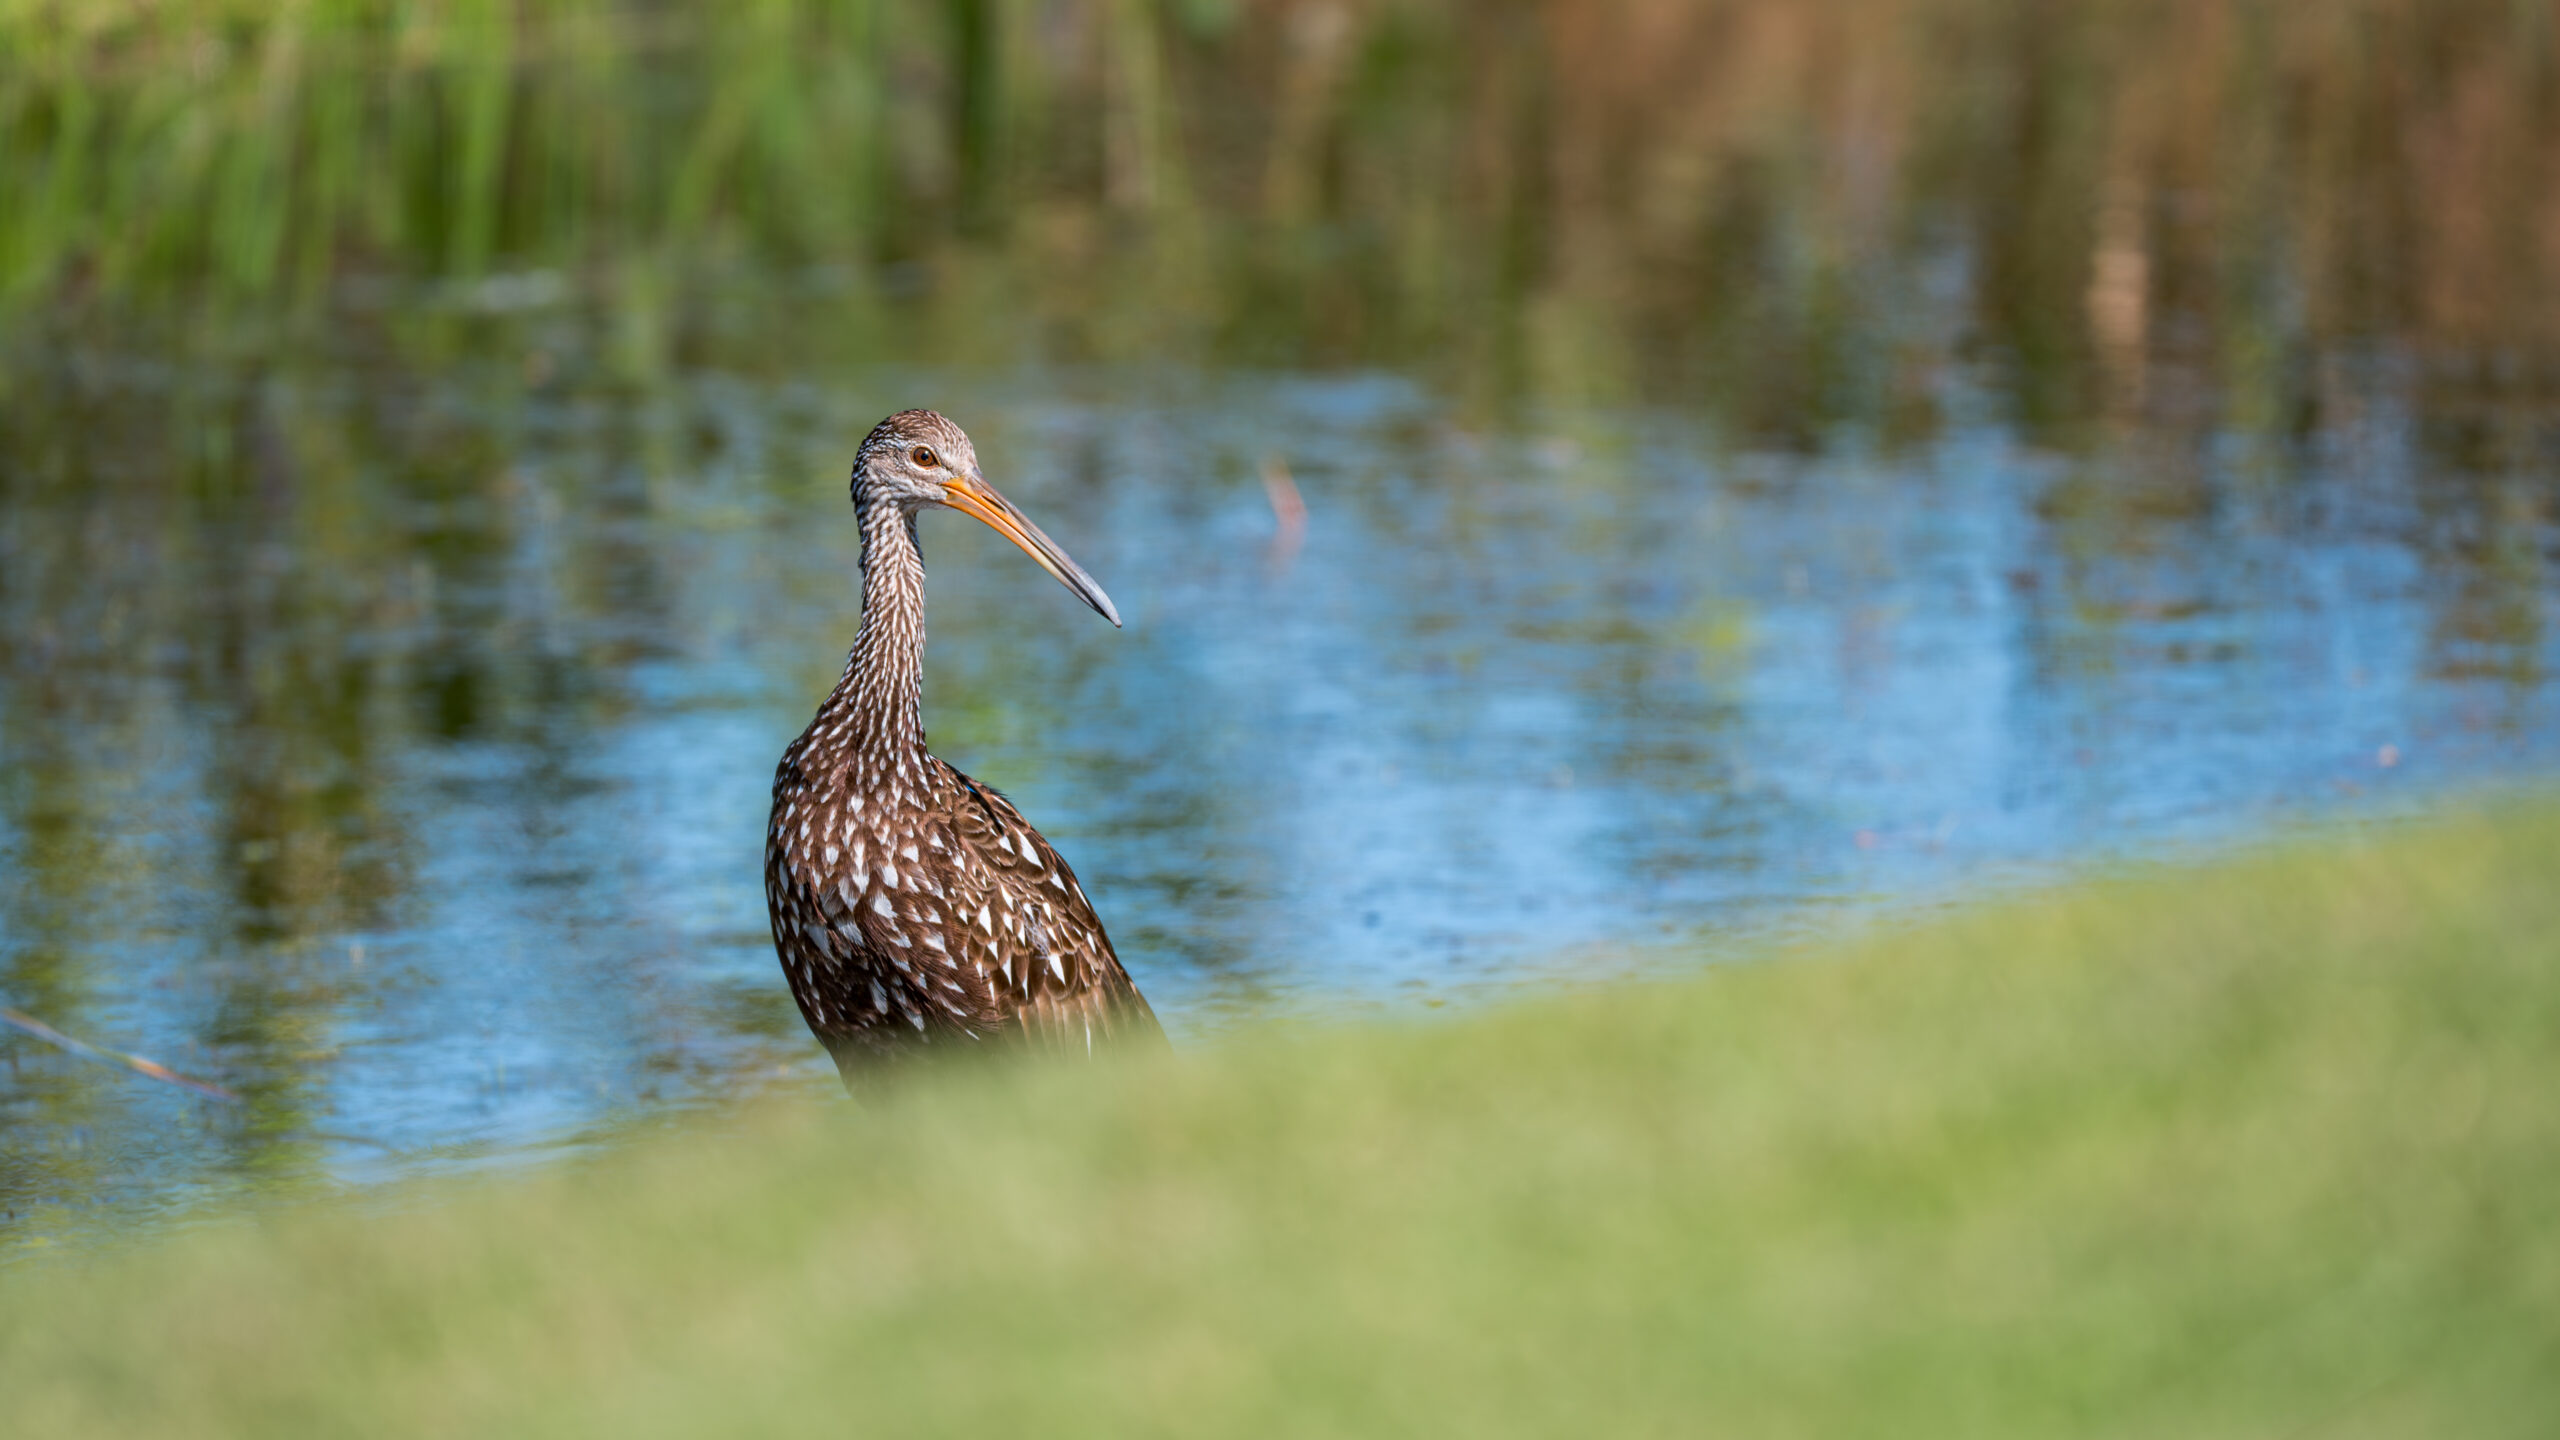
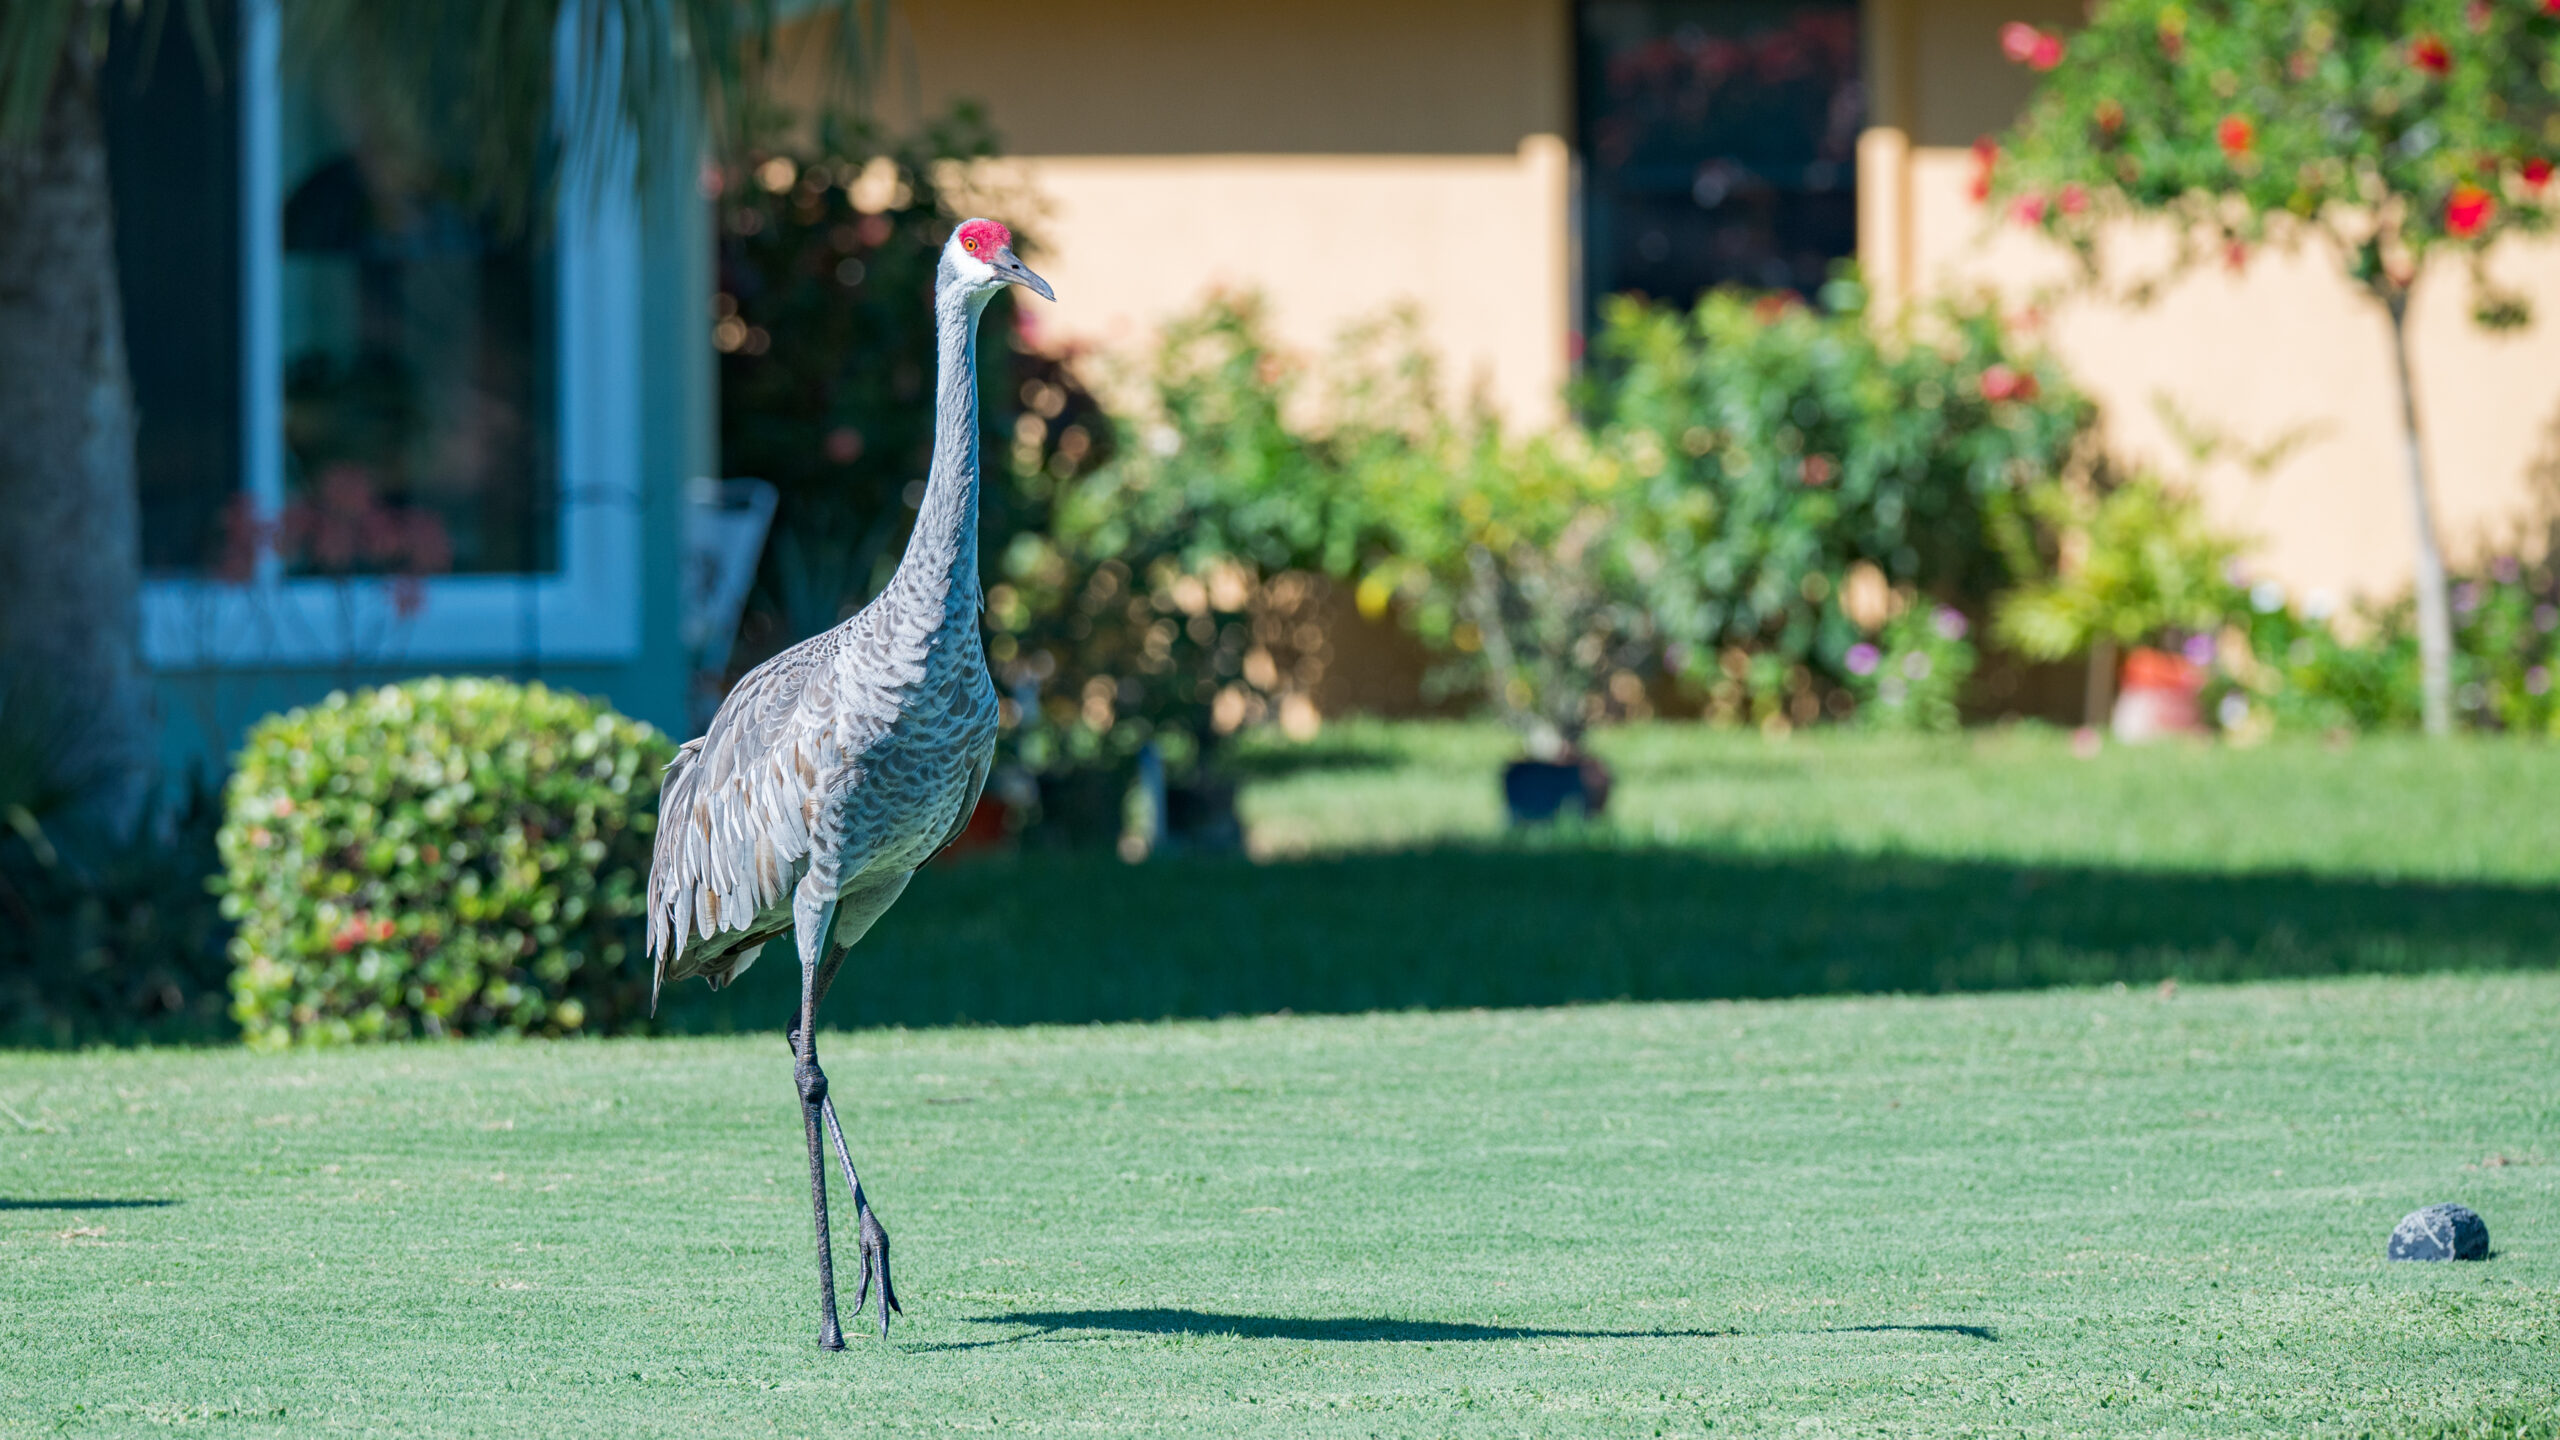
Welcome to the Indian River Colony Club Golf Course, an 18 hole private golf course that rewards precise shot-making. The course meanders among the community’s single family homes and the many ponds and natural preserves. The abundance of wildlife provides a pleasant respite as you proceed around the course. You will remember each hole for its own unique personality traits.
For the longer hitter, the blue tees place a premium on the drive, which requires a carry of up to 160 yards over water on a third of the 18 holes. If the distance required from the blue tees is daunting, move to the white tees. The same shot-making is required but the pressure on the length of the drive is reduced. Even from the white tees, the course is a placement course requiring straight shots. Spruce up your short game to take full advantage of the exceptionally well maintained, challenging greens.
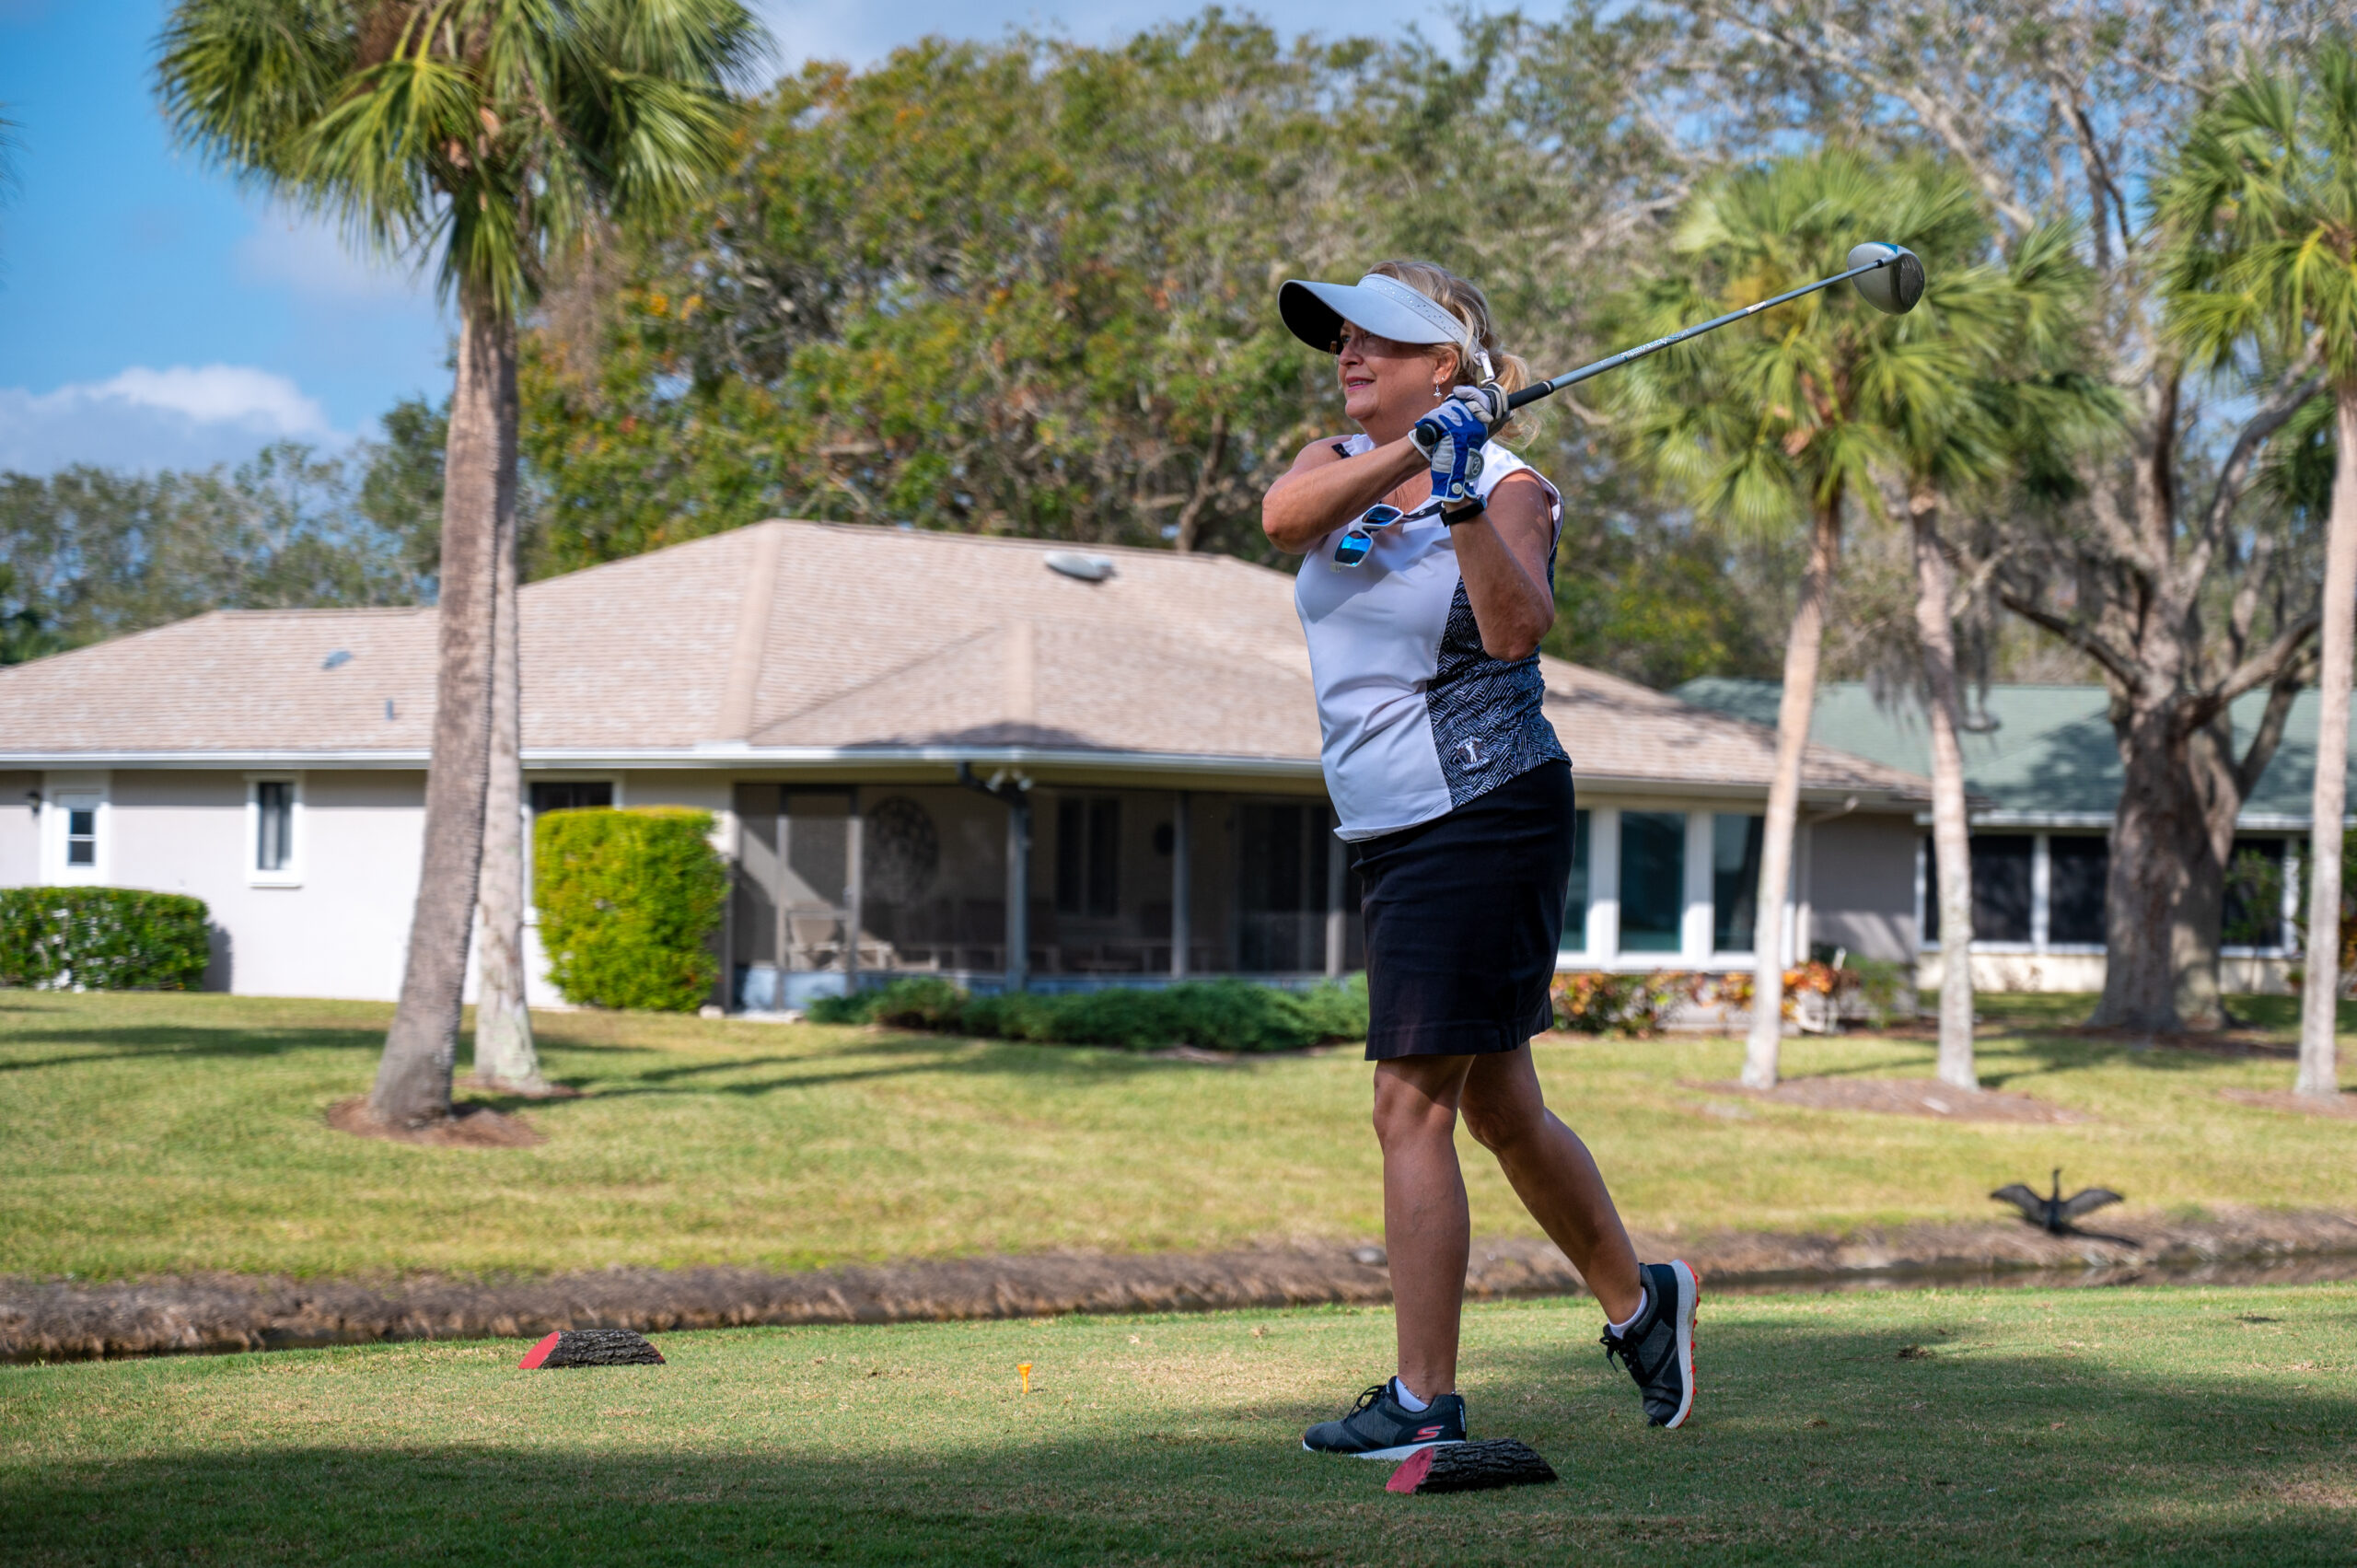
For those who no longer wish to blast away from the tee, the black tees provide the challenge without the necessity of the “Tiger” swing. Enjoy placing your shots in the precise spot to make par. Hone your short game to shoot a good score.
The black tees can also provide a true challenge for the ladies. Long, straight shots are rewarded from these tees. The ladies’ red tees also provide for interesting challenges and a wide variety of shots. Again, good solid shot-making is helpful in playing the course.
The silver tee executive course has been recently added to give every golfer the opportunity to enjoy the game. Golfers of all ages and skill level enjoy the chance to sharpen their short game, enjoy different views, and finish in a couple of hours. Although the threat of hazards is diminished, a par three is still a challenge on every hole.
 Finding a game at IRCC is easy; our member-to-hole ratio is 13.1! There are both men’s and ladies’ associations with separate leagues as well as numerous opportunities to play in couples and mixed formats every week. On Monday, Tuesday (women’s league) and Wednesday (men’s league), sign-up and be placed in a foursome. Tuesday afternoon, Thursday, Friday, and Saturday, show up at the first tee to join a group of players of your caliber. Arrive on Monday and Friday afternoons, accompanied by your spouse/partner, and play with other couples in some innovative scrambles. Tuesday afternoon, join a Nine Hole Mixed Group known as the “Tuesday Afternoon Golfing Society.” Sunday, gather your own group and have fun. There is always room for everyone. Normal playing time is 3½ – 4 hours. There are no rangers, just good sports…men and women.
